A landlord with a perfectly good flat sits waiting for enquiries that never come. The rent is fair, the flat is clean, the location is solid. The problem is not the flat - it is the photos. Three blurry images taken against the light, a bathroom shot where the toilet takes up the entire frame, and a shot of the main room with bags from the outgoing tenant still piled in the corner. In 2026, that listing is invisible.
Most rental searches in India now begin on a screen - phone first, then a quick scroll through photos, and a split-second decision to contact or move on. The landlord who photographs their flat well gets more calls, better-quality renters, and shorter vacancy periods. None of this requires a professional photographer. It requires a plan, a smartphone, and an afternoon before the flat is vacated.
This guide walks through exactly that plan: a 12-shot checklist that covers every room and detail a serious renter needs to see, how to prepare the flat before you shoot, lighting fundamentals that separate decent photos from great ones, and the mistakes that make an otherwise good listing disappear into the scroll.
Why Rental Property Photos in India Matter More Than Ever in 2026
The rental search journey has changed. In 2026, a renter in a new city does not pick up the phone and call a broker first - they open a listing platform, scroll through photos, and shortlist based on what they see in the first five seconds. If a listing has no photos, or photos that look like they were taken in 2013 with a potato, that renter is already looking at the next result.
This matters because the supply of rental listings in most Indian cities now exceeds the volume of active renters at any given moment - especially in the mid-range and premium segments. A renter with a genuine budget has choices. Poor photos do not just reduce enquiries - they effectively deselect your flat from consideration before you have said a single word.
Good photos, on the other hand, do several useful things at once. They attract more enquiries overall. They filter out mismatched renters - someone who sees a clean, well-lit 1BHK and still enquires about it is likely a genuine fit, not someone who will arrive expecting a 3BHK. They also make the first conversation easier: the renter already has a picture of the flat in their mind, so the site visit is a confirmation rather than a discovery.
Before You Start: Preparing the Flat for a Photo Shoot
Preparation is 70% of a good rental photo. A modest flat that is clean, decluttered, and well-lit photographs better than a larger flat that is chaotic or half-vacated. This is not about staging in the home-styling sense - it is about presenting the flat as it will be on move-in day. Give it an afternoon before shooting.
Here is the preparation checklist:
- Remove all previous-tenant belongings. Every bag, box, and personal item must be out of frame. If some items remain (furniture being left behind), arrange them neatly. Renters cannot mentally subtract clutter - they experience it as the flat's character.
- Clean every surface. Wipe down kitchen counters, bathroom tiles, and mirrors. Clean glass surfaces give a flat an immediate sense of quality. A fingerprint-streaked mirror reads as neglect.
- Fix the obvious defects first. A broken bulb, a cracked tile, a patch of peeling paint - these should be repaired before the shoot. If they are not repaired, photograph around them. Never photograph a defect and hope the renter does not notice.
- Arrange furniture so rooms look open. Push furniture to the walls of small rooms. Clear the centre of the living area so the floor is visible. Space reads as value to a renter scrolling photos.
- Set up the bathroom properly. Put out a clean towel neatly folded, close the toilet lid, and ensure the counter is clear. Bathroom photos kill more listings than any other single factor.
- Open every window and curtain. Natural light is your single most important tool. The flat should be as bright as possible from the outside before you even touch the lights.
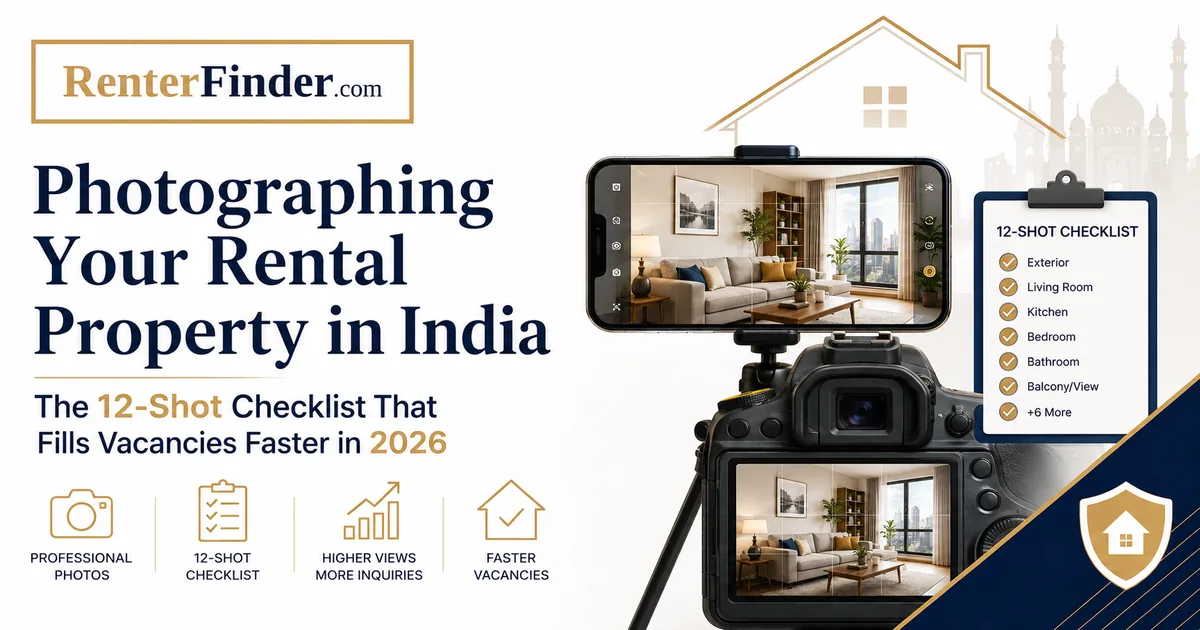
The 12-Shot Checklist: What to Photograph and in What Order
These 12 shots form the minimum set a renter needs to make an informed decision to contact you. For larger flats (3BHK and above), add one shot per additional bedroom and one per additional bathroom. For furnished flats, add one detail shot of the kitchen appliances if they are being left.
- Living room wide shot. Stand in the corner diagonally opposite the main seating area and shoot toward the windows. Capture as much of the room as possible in a single frame. This is usually the first photo in a listing - it sets the impression.
- Living room second angle. Move 90 degrees around the room and shoot again. This second angle shows the layout from a different vantage point and builds trust - a single living room shot can feel like the landlord is hiding something.
- Master bedroom wide shot. Same rule: corner-to-corner, toward the window. Bed should be made. Wardrobe doors closed. No bags or shoes visible.
- Master bedroom storage shot. Open the wardrobe and photograph the interior. Renters care a great deal about storage. A large, clean wardrobe interior is a selling point that many landlords never think to photograph.
- Second bedroom (if applicable). Same approach as master. If the room doubles as a study or is empty, photograph it clean and decluttered. An empty room with good light still reads better than a filled room with clutter.
- Kitchen wide shot. Stand at the kitchen entrance and photograph the full length of the counter. Ensure the counter is clear. The gas connection, chimney (if present), and sink should be visible. Cleanliness here reads directly as the landlord's approach to maintenance.
- Kitchen detail shot. A close shot of the hob, chimney, or any appliances being left. If the kitchen has a window, shoot toward it - natural light in a kitchen photo lifts the entire listing.
- Bathroom wide shot. Stand at the bathroom door and shoot straight in. Toilet lid down, towel neatly placed, counter clear, mirror clean. This is the shot that most landlords get wrong - it is also the shot that renters zoom in on most often.
- Balcony or terrace shot. Shoot from inside the flat looking out, showing the door/window frame and the view beyond. If the balcony view is good, this is a powerful photo. If the view is a wall, shoot at an angle that includes sky.
- Building entrance or stairwell. Stand at the building entrance and photograph it straight on, or from just inside showing the staircase. Renters want to understand the building quality and common area maintenance. This also signals transparency.
- Parking area (if applicable). A single clear photo of the designated parking spot, covered or open. For landlords charging extra for parking, this photo is essential. For landlords including parking in rent, it is a significant positive signal.
- View from the main window. Stand at the main window or balcony, face outward, and photograph the surrounding view. This contextualises the locality for renters who do not know the area well - it shows them what they will see every morning.
Lighting: The Single Factor That Separates Good Photos from Invisible Ones
Every professional property photographer, when asked for the single most important tip, says the same thing: get the lighting right. Lighting is not about equipment - it is about timing, preparation, and knowing what to avoid.
Here is the practical lighting framework for a rental flat shoot:
- Shoot between 9 AM and 3 PM. Midday light in India is intense and high-contrast for south-facing windows, but for east- and north-facing rooms it is actually ideal. Avoid shooting after 5 PM unless the flat has exceptional artificial lighting.
- Open every curtain, every blind. Maximum natural light is the goal. Even if the view outside is not great, the light coming in matters more than what you can see through the window in the photo.
- Turn on all ceiling lights and lamps. Even in a bright room, interior lights fill in shadows and warm the image. A room with both natural and artificial light on simultaneously looks more inviting than a room lit by one source alone.
- Never use the phone's flash. On-camera flash creates harsh shadows behind furniture and blows out any surface it hits directly. If a room feels too dark for a clean photo without flash, come back at a different time of day - do not force it.
- Avoid shooting directly into strong light. If you stand with a bright window directly behind you and shoot toward the room, you will get a silhouette of the room against an overexposed window. Either stand with the window behind the room (so light comes toward you), or stand to the side of the window and angle the shot slightly.
- Use portrait mode or HDR sparingly. Most modern smartphones have an HDR mode that balances bright windows with darker interiors. It can help. Portrait mode (bokeh blur) is not useful for room shots - it creates a blurry foreground that distracts from the space.
Common Mistakes That Cost Landlords Enquiries
Most poor rental listing photos come from the same handful of repeating mistakes. Knowing what to avoid is as useful as knowing what to do.
Shooting with the previous tenant's clutter in frame. This is the most common error. The outgoing tenant's bags, boxes, and belongings are visible in photos. Renters cannot mentally subtract clutter - they experience it as the flat's size and character, not as a temporary situation. Always wait until the flat is fully vacated, or ask the tenant to clear a room before you shoot it.
Only posting one or two photos. Fewer than six photos is a red flag in 2026. Renters assume a landlord with one or two photos is hiding something about the flat - a damp wall, a small room, a broken fitting. Post the minimum 12-shot set.
Vertical (portrait) phone orientation for room shots. Most listing platforms display photos in landscape (horizontal) format. A vertical photo of a room wastes most of the frame on ceiling and floor, and makes the room look narrow. Always shoot room photos in landscape orientation. Reserve vertical shots for very specific detail shots if needed.
Blurry or shaky photos. Modern smartphones rarely produce motion blur in good light. If your photos are coming out blurry, it is usually because you are trying to shoot in a dark room. Increase the light in the room, hold the phone steady with both hands, and wait a beat after tapping to focus before you press the shutter.
No bathroom photo at all. A listing with no bathroom photo creates immediate suspicion. Always include the bathroom, even if it is small. A small, clean, well-lit bathroom photographed well is not a negative - it is honest. Renters respect honest listings.
Misrepresenting the flat through selective photography. Photographing only the best corner of each room and leaving the rest unshown is a form of misrepresentation. Renters who arrive at a site visit to find the flat significantly different from the photos are unlikely to sign - and they will leave feeling their time was wasted. The goal is not to make the flat look better than it is; it is to show the flat accurately enough that the right renter recognises it as the right flat for them.
Uploading and Ordering Your Photos for Maximum Impact
The order in which you upload photos is a separate skill from taking them. Renter attention front-loads heavily on the first two or three images. The remaining photos get progressively less scrutiny - but they still need to be there.
The recommended upload order:
- Best living room shot first. This is your thumbnail and your first impression. It should show the most spacious, well-lit view of the main living area.
- Second living room angle second. Reinforces the space and shows the renter they can trust the first photo was not a deceptive angle.
- Master bedroom third. Bedroom quality matters more to most renters than kitchen quality. Put it high.
- Kitchen next. Clean, clear, well-lit.
- Bathroom. Get it out of the way early - renters are looking for it, and if it appears late in the sequence they assume you are hiding it.
- Remaining bedrooms, storage shots, balcony, building entrance, and parking last. These support the decision but rarely make it.
Most platforms allow you to set a cover photo (the image that appears in search results). Always set this to your best living room shot - it is wide, bright, and shows the most space. Avoid using a bathroom or a bedroom as the cover photo, even if those rooms photographed beautifully.
If the platform allows captions, use one or two words per photo to orient the renter ("Living room", "Master bedroom wardrobe", "Car parking"). Do not write marketing copy in captions - that goes in the listing description. Captions should be navigational only.
How Good Photos Work Alongside a Direct Rental Approach
Photography matters most when your listing reaches a genuinely interested audience. A perfect photo set on a platform flooded with irrelevant traffic produces mediocre results. A good photo set reaching a renter who actually matches your flat's profile, location, and rent range produces quick outcomes.
This is partly why platforms that let landlords proactively reach renters - rather than passively waiting for inbound enquiries - change the dynamic. On RenterFinder's Prospective Renters' List, landlords can browse active renter profiles, filter by city, budget, BHK need, family size, and move-in timeline, and reach out directly to those who match. When a landlord approaches a renter from that list, photos become the renter's first introduction to the flat - they decide whether to respond based on what they see.
A well-photographed property on a platform like this gets more responses, faster. The renter has already seen the flat in a way that builds trust, so the first message feels like a logical next step rather than an unsolicited approach.
RenterFinder launched on April 24, 2026, so the renter and landlord pool is still growing - patience is needed as more users join. But for landlords who invest in a proper photo set now, the combination of direct outreach and good visual presentation is already producing results.
For a detailed guide on writing the rest of your listing to match the quality of your photos, see How to Write a Rental Property Listing That Attracts the Right Tenants in India. For the landlord's full playbook on finding good tenants without a broker, see How to Find a Good Tenant in India Without Going Through a Broker.
Written by the RenterFinder Editorial Team. RenterFinder.com is India's rental-only matching platform. We just launched on April 24, 2026, and the renter and landlord pool is still growing - please be patient with us as more users join.
Related Articles
- How to Write a Rental Property Listing That Attracts the Right Tenants - Pair with good photos for a complete listing
- How to Find a Good Tenant in India Without Going Through a Broker - Full landlord playbook
- Furnished vs Unfurnished Rental in India: A Complete Guide for Landlords - Decide before you photograph
Once your photos are ready, reach out directly to renters on the Prospective Renters' List - no broker, no middleman, no commission at the start.